
Best Design Software for Screen Printing
Table of Contents
best design software for screen printing: I still remember the first time I tried to burn a screen from a low-resolution JPEG image I’d found online. The edges were jagged, the text was fuzzy, and when I finally washed out the screen, the “black” areas were so transparent that light had leaked through, ruining the stencil completely. It was a messy, frustrating disaster that taught me the most important lesson in screen printing: your print is only as good as your artwork. Screen printing is unforgiving—it demands crisp edges for spot colors and mathematically precise dots for halftones. You can’t just hit “print” like you do with a digital printer; you need software that speaks the language of separations, vectors, and halftones. Since that early failure, I’ve navigated through everything from industry-standard Adobe behemoths to surprisingly powerful affordable alternatives like Affinity Designer, discovering that the “best” software isn’t always the most expensive—it’s the one that gives you control over the unique technical requirements of screen printing.
Choosing the best design software for screen printing is critical because the medium requires specific file preparations that standard design workflows often ignore. You need tools that can handle color separation (splitting an image into individual ink colors), create vector graphics (for infinitely scalable, crisp lines), and generate halftones (converting gradients into printable dot patterns). While Adobe Illustrator and Photoshop remain the industry titans, the landscape has shifted dramatically with powerful contenders like Affinity Designer 2 offering professional-grade features without subscription fatigue. Whether you’re a professional print shop needing automated separation plugins or a DIY enthusiast looking for free tools to start your garage brand, the right software bridges the gap between a digital concept and a physical, wearable reality.
This comprehensive guide explores the best design software for screen printing, comparing industry standards with powerful alternatives, providing step-by-step tutorials for essential tasks like creating halftones in Affinity Designer and color separations in Photoshop, and breaking down the “Vector vs. Raster” debate specifically for screen printers. From high-end vector tools to free open-source options, we’ll equip you with the digital toolkit needed to produce flawless physical prints.
Vector vs. Raster: The Right Tool for the Job
Before choosing software, you must understand the fundamental difference between the two types of digital images, as screen printing treats them very differently.
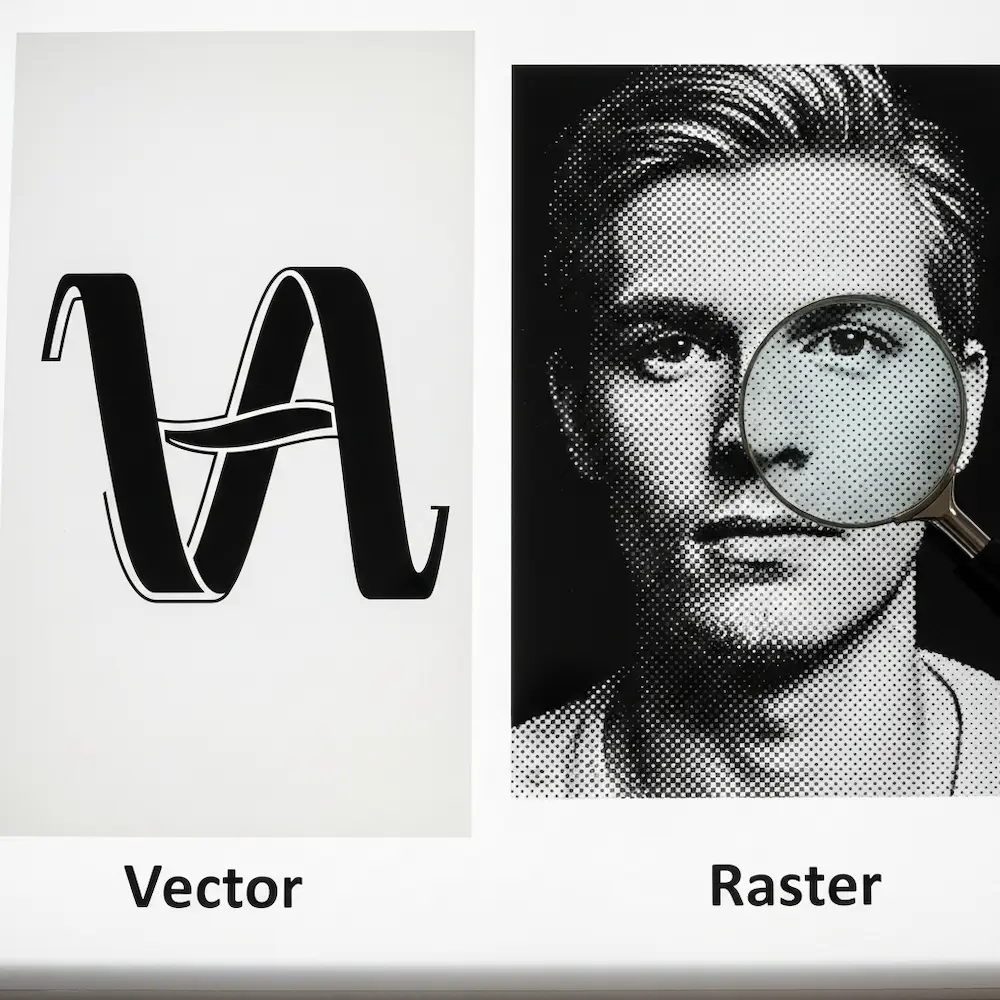
Vector Graphics: The Screen Printer’s Best Friend
Best for: Logos, typography, solid spot-color designs, and illustrations with clean lines.
Software: Adobe Illustrator, Affinity Designer, CorelDRAW, Inkscape.
Vector graphics are defined by mathematical paths (points, lines, and curves) rather than pixels.
- Infinite Scalability: You can size a vector design for a business card or a billboard without losing a single ounce of quality. For screen printing, this ensures your stencil edges are razor-sharp, preventing the “sawtooth” look on curved lines.
- Easy Separation: Since vectors are built from solid shapes of color, separating them for spot-color printing is often as simple as selecting all objects of one color and printing them to a separate film.
- Clean Edges: Screen printing requires a crisp positive to block UV light perfectly. Vectors provide the densest, cleanest black lines for film output.
Raster Graphics: The Master of Detail
Best for: Photographs, complex shading, painterly effects, and distressed textures.
Software: Adobe Photoshop, Affinity Photo, GIMP.
Raster images are made of a grid of pixels (dots of color).
- Photographic Detail: If your design involves a photo of a person or a complex texture, you need raster software to manipulate the pixels.
- Halftones: Screen printing cannot print “gray”—it’s either ink or no ink. Raster software is essential for converting these continuous tones into halftones (patterns of small dots) that simulate shading.
- Resolution Dependent: Unlike vectors, raster images lose quality if enlarged. For screen printing, you must work at high resolutions (typically 300 DPI or higher) to ensure the pixels don’t become visible on the final shirt.
The Verdict: Most professional screen printers use a hybrid workflow. They might edit a photo or create a texture in Photoshop (Raster), then import it into Illustrator (Vector) to add text and finalize the layout.
Industry Standards: Adobe Creative Cloud
Adobe remains the heavyweight champion in print design, with tools specifically tailored for professional workflows.
Adobe Illustrator
- Role: The gold standard for vector creation.
- Key Features for Screen Printing:
- Image Trace: Converts low-quality raster logos into clean, printable vectors—a lifesaver when clients send pixelated JPEGs.
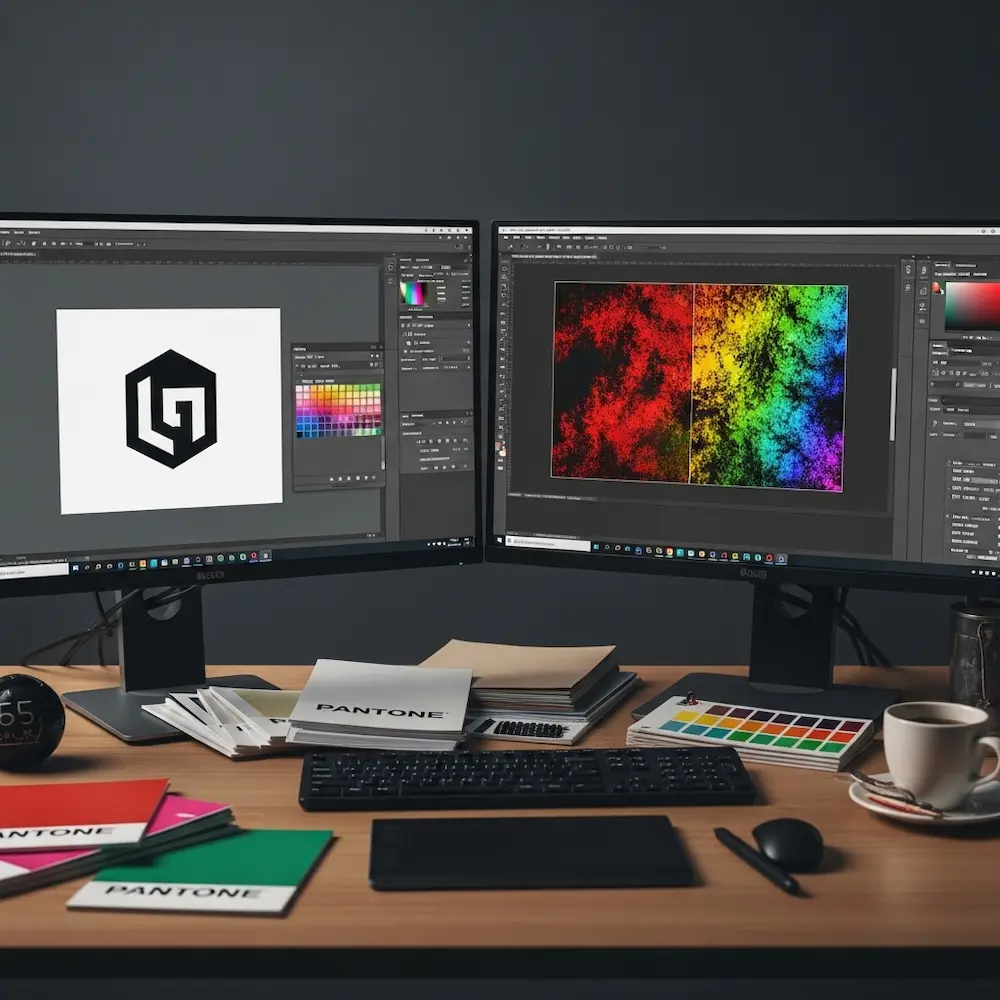
- Spot Color Swatches: Allows you to define Pantone colors directly in the file, ensuring the printer knows exactly which ink to mix.
- Separations Preview: A built-in mode that shows you exactly how your color plates will break down before you print a single film.
- Third-Party Plugins: Supports powerful plugins like Separation Studio or T-Seps that automate complex separation tasks.
Adobe Photoshop
- Role: The engine for photographic separations and high-end effects.
- Key Features for Screen Printing:
- Channel Separations: The manual way to separate complex full-color images into “Simulated Process” spot colors (e.g., printing a photo using only White, Red, Blue, Gold, Black, and Highlight White inks).
- Bitmap Mode: The definitive tool for converting grayscale images into crisp, high-resolution halftones for film output.
Pros: Industry standard, powerful, extensive plugin ecosystem.
Cons: Expensive monthly subscription model.
The Powerful Challenger: Affinity Suite
For designers tired of subscriptions, Affinity Designer and Affinity Photo have emerged as serious professional alternatives, offering 90% of Adobe’s power for a one-time purchase.

Affinity Designer for Screen Printing
Affinity Designer is unique because it has both “Designer Persona” (Vector) and “Pixel Persona” (Raster) in the same app, allowing you to work on vectors and textures simultaneously without switching programs.
Tutorial: Creating Halftones in Affinity Designer
While Affinity Photo has a dedicated “Halftone” live filter, you can create vector-based halftones directly in Designer using a clever workaround or the Pixel Persona.
Method 1: The “Live Filter” Approach (Requires Pixel Persona)
- Select your object (e.g., a gradient circle).
- Switch to the Pixel Persona (top left icon).
- Go to the Layers Panel, click the Live Filters hourglass icon, and choose Colour > Halftone.
- Adjust Settings:
- Screen: Sets the “dot” type (Cosine usually gives nice round dots).
- Contrast: Controls the hardness of the dots.
- Cell Size: Controls the size of the halftone dots (effectively your LPI).
- Export: This creates a raster halftone effect. When exporting for film, choose PDF or TIFF at high resolution (300 DPI) to keep the dots crisp.
Method 2: Vector Pattern (The “Power Duplicate” Trick)
For a truly scalable vector halftone (advanced):
- Draw a small black circle.
- Duplicate it and move it slightly. Press
Cmd/Ctrl + Jrepeatedly to create a row of dots. - Group the row, duplicate the group, and move it down. Repeat
Cmd/Ctrl + Jto create a grid. - Use the Transparency Tool on the group to fade the dots, essentially masking them to create a gradient effect manually.
(Note: For automated vector halftones, VectorStyler is often a better companion app to Affinity).
Affinity Photo
Affinity Photo handles separations remarkably well.
- Channels: Like Photoshop, you can manipulate Red, Green, and Blue channels to create spot color separations manually.
- Non-Destructive Layers: Its workflow is arguably faster for manual adjustments than Photoshop’s legacy tools.
Free and Open Source Alternatives
Starting a print shop on a budget? You don’t need to pay to design.
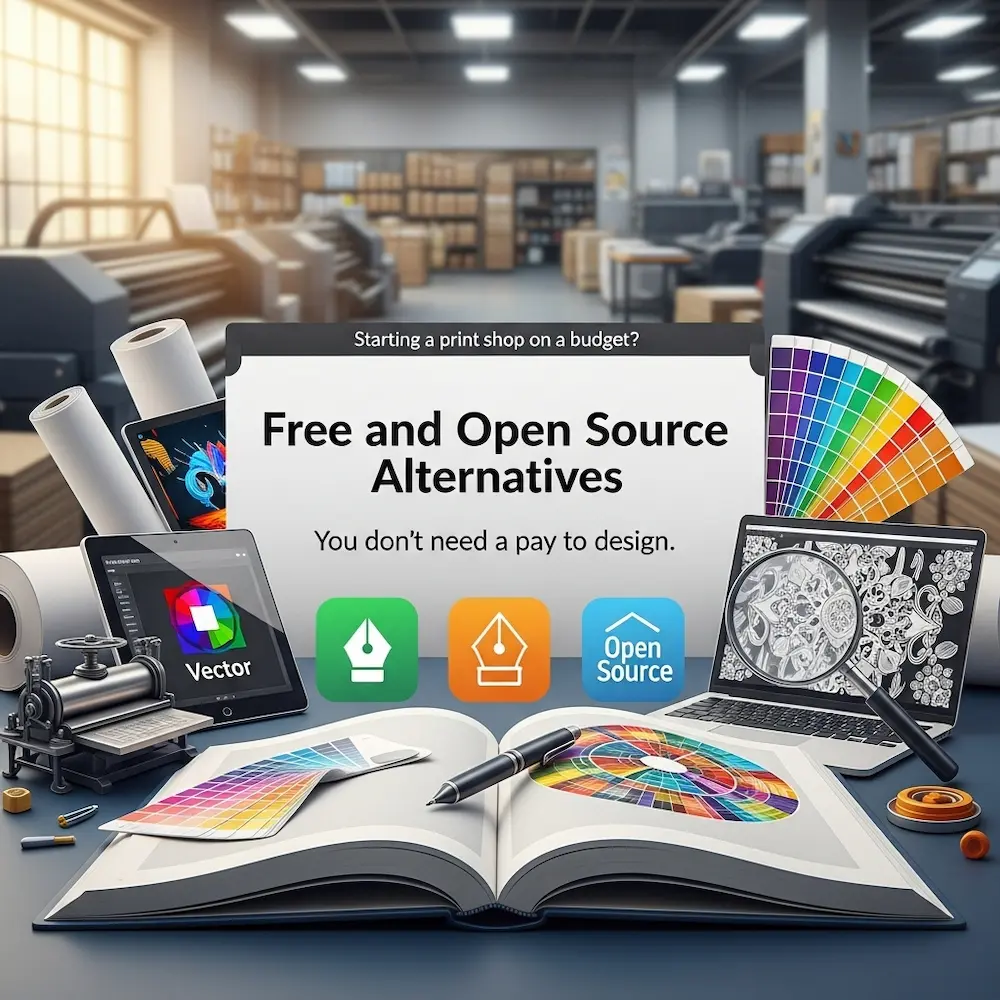
Inkscape (Free Vector Tool)
- The GIMP/Illustrator Alternative: Completely free and open-source.
- Screen Print Capabilities: It handles vectors natively. You can trace bitmaps (like Image Trace), work with layers for manual color separation, and export high-quality PDFs for printing.
- Cons: The interface is clunkier than Illustrator/Affinity, and it lacks native Pantone support out of the box (though workarounds exist).
GIMP (Free Raster Tool)
- The Photoshop Alternative: Powerful enough for most manual separations.
- Halftones: Has a built-in “Newsprint” or “Halftone” filter that converts gradients into dots, similar to Photoshop’s Bitmap mode.
Specialized Color Separation Software
For professional shops doing high-volume “Simulated Process” printing (photorealistic prints on black shirts), manual separation in Photoshop takes too long. Specialized software automates this.
- Separation Studio NXT: The industry leader for automated simulated process. You feed it a full-color file, and it splits it into spot color channels (e.g., Underbase White, Red, Blue, Gold, Highlight White) ready for film output.
- UltraSeps / T-Seps: Plugins for Photoshop that run complex actions to separate colors automatically.
- AccuRIP / PrintFab: strictly speaking “RIP” (Raster Image Processor) software. These don’t design, but they sit between your design software and your printer. They are essential for printing opaque black films and converting your gray pixels into crisp halftone dots automatically upon printing.
Step-by-Step: Preparing a Design for Film Output
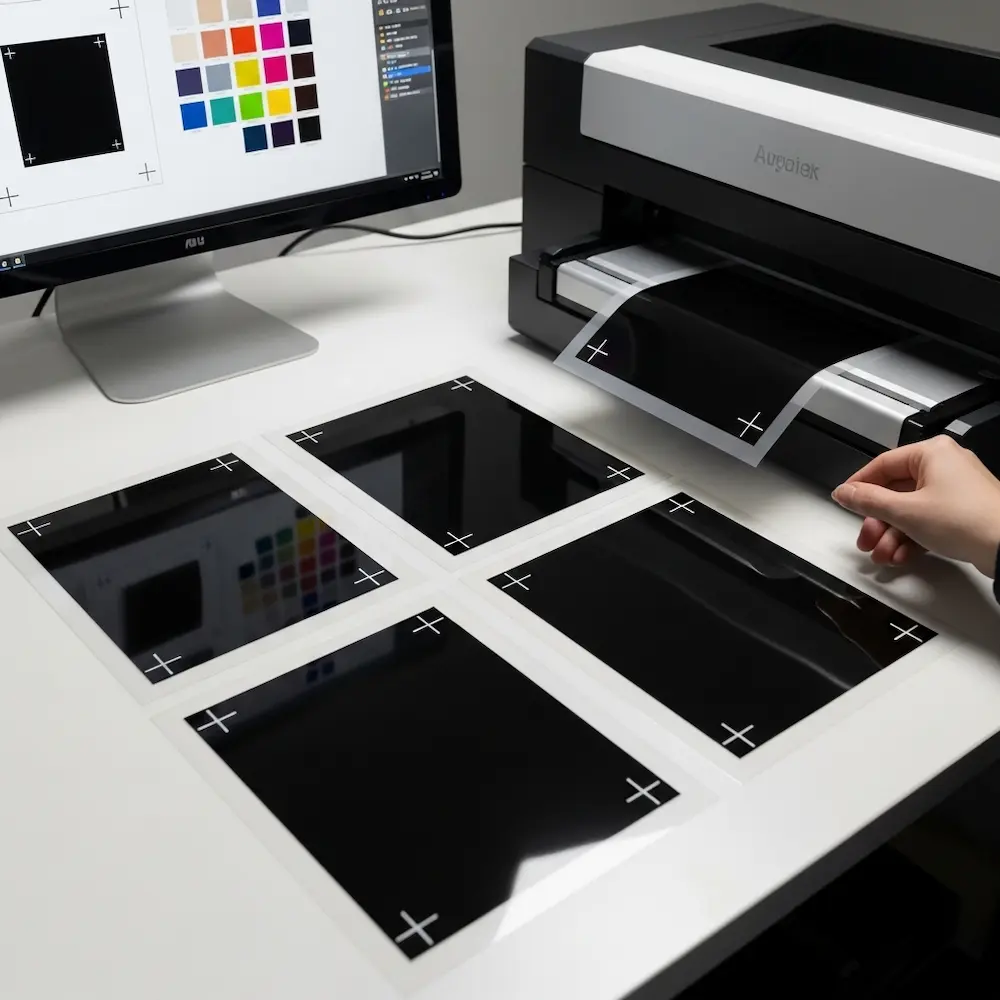
Regardless of the software, the final goal is the same: Black ink on clear film.
- Design in Spot Colors: Ideally, build your art using limited colors. If your design is red and blue, use exactly two swatches: “Spot Red” and “Spot Blue”.
- Convert Text to Outlines: In Illustrator/Affinity, select your text and “Convert to Curves/Outlines”. This ensures fonts don’t disappear if the printer opens the file.
- Registration Marks: Add “bullseyes” or crosshairs to the corners of your artwork. These must be in the exact same spot on every color layer so the printer can align the screens.
- Separation:
- Output: Print onto transparency film using a high-quality inkjet printer. The black ink must be opaque enough to block light completely.
Conclusion
The “best” software depends on your needs. For vectors and logos, Adobe Illustrator remains king, but Affinity Designer is a brilliant, cost-effective prince. For photos and halftones, Photoshop is the standard, but Affinity Photo proves you don’t need a subscription to do pro-level separations. And for the bootstrapper, Inkscape and GIMP are capable tools that cost nothing but time.
Ultimately, the software is just a tool to achieve the technical requirements of screen printing: opacity, separation, and registration. Master these concepts, and you can produce industry-standard films using almost any program on this list.


